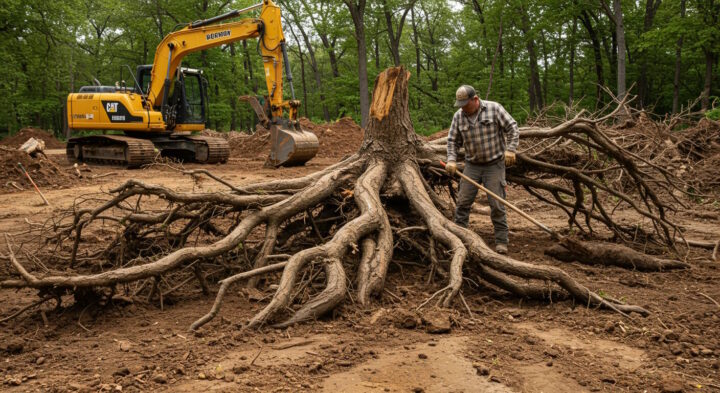
If you’ve ever had to dig around trees with your excavator, you’ll know it’s a bit of a mission. Trees are precious to our environment, and their roots are vital for their survival. Today, I’m going to share some proper techniques for excavating around tree roots without causing harm to our leafy mates.
Understanding Tree Root Systems
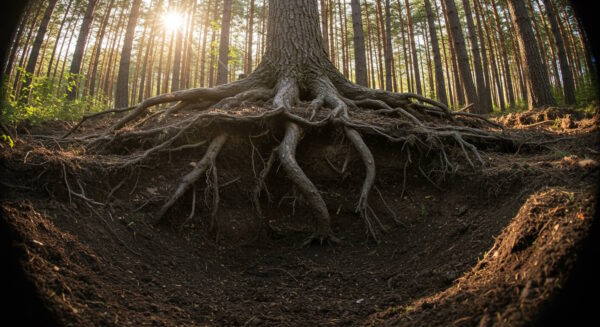
Before we crack on with the digging techniques, let’s understand how tree roots work. About 90% of a tree’s roots spread out in the top metre of soil. These roots can stretch way further than you might think, often reaching out 2-3 times the width of the tree’s canopy!
The root system has two main parts: the structural roots near the trunk that keep the tree standing upright (like guy wires on a power pole) and the smaller feeder roots that spread out to collect water and nutrients. Both types are crucial for the tree’s survival, so we need to be extra careful when working around them.
Planning Your Dig
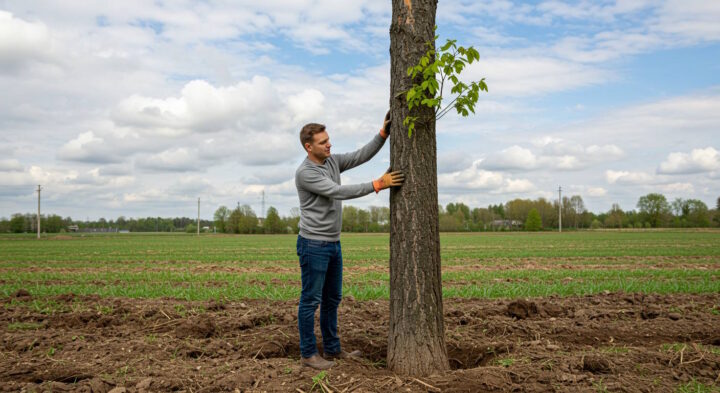
Right, before you jump in your digger and start moving dirt, you need to sort out a proper plan. First up, you’ll want to calculate what’s called the Tree Protection Zone (TPZ). This is basically a circle around the tree where you need to be extra careful. To work it out, measure the diameter of the tree trunk at chest height (in centimetres) and multiply that by 12. That gives you the radius of your TPZ in centimetres.
For example, if you’ve got a tree with a trunk that’s 50 cm across, your TPZ would be 600 cm (or 6 meters) from the trunk. Any excavation within this zone needs special attention and care. If possible, try to keep your excavation outside this zone. If you can’t, then you’ll need to use some specific techniques we’ll talk about next.
Pre-Excavation Checks
Before you start digging, there are a few important things to check:
First, make sure you’ve got all the right permits. In many parts of New Zealand, you need council approval before excavating near protected or significant trees. Have a chat with your local council if you’re not sure.
Next, get someone who knows their stuff about trees (like an arborist) to have a look and give you some advice. They can tell you which roots are crucial and which ones might be okay to cut if absolutely necessary.
Also, check for any underground services. The last thing you want is to hit a power cable or water main while trying to protect tree roots! Get in touch with Before U Dig and get those services marked out properly.

Initial Excavation Techniques
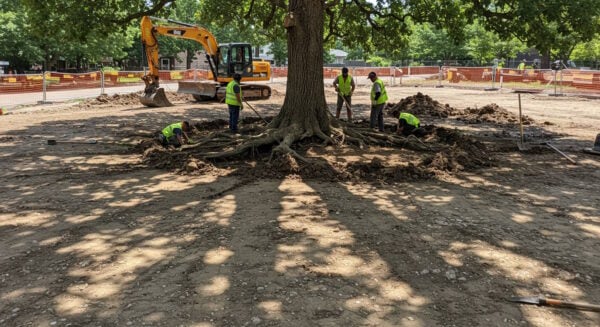
When you start excavating within the TPZ, you’ll want to use what we call ‘exploratory digging’ first. Instead of going in with your bucket straight away, you’ll want to expose the roots carefully to see what you’re dealing with.
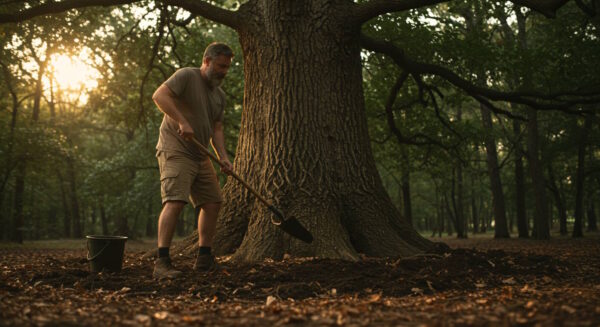
The best way to start is by using hydro-excavation (that’s using water and a vacuum truck) or air-spading (using compressed air to remove soil). These methods are a choice because they remove the soil without damaging the roots. If you don’t have access to this gear, you can carefully dig by hand initially to locate the main roots.
Careful Excavation Techniques
Once you’ve located the main roots, you can start using your excavator, but you’ll need to be extra careful. Use a smaller bucket if you’ve got one as it’ll give you better control. Keep your movements slow and steady, and always dig parallel to the roots rather than across them. Good digger training can help you build these skills.
When operating your digger, keep the bucket flat and try to scrape the soil away rather than digging down. This technique is a bit like peeling an orange: you want to remove the soil in layers rather than chunking it out. If you hit a root, stop straight away and clear the soil around it by hand or with air/water excavation.
Working Around Large Roots
When you come across big roots (anything thicker than your thumb), you’ll need to work around them. These larger roots are usually structural, and keeping them intact is crucial for the tree’s stability. You might need to adjust your excavation depth or alignment to avoid them.
If you absolutely must cut a root (and your arborist has given you the thumbs up), there’s a proper way to do it. Make sure you’ve got clean, sharp pruning tools, not your excavator bucket! Make a clean cut at right angles to the root, as close as possible to the edge of your excavation. Jagged or torn roots are more likely to get infected and can harm the tree.
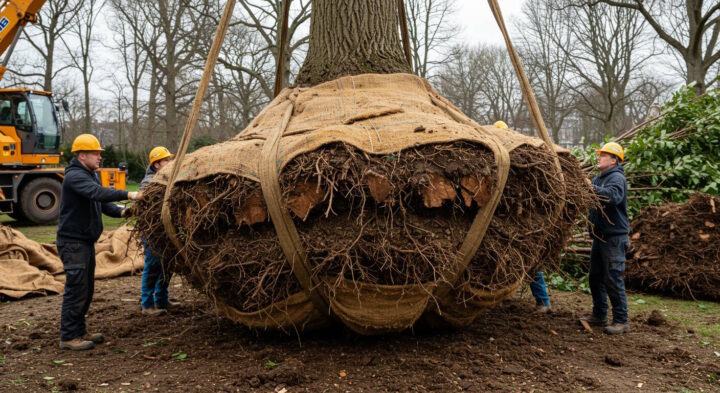
Protecting Exposed Roots
Once you’ve exposed tree roots, they need protection. Roots aren’t meant to be out in the open as they can dry out pretty quickly, which isn’t good for the tree. If the roots are going to be exposed for more than a few hours, you’ll need to cover them with wet hessian sacks or similar material. Keep these damp until you can backfill.
During hot or windy weather, you might need to spray the roots with water a few times a day.
Backfilling Around Roots
When it’s time to backfill around the roots, you can’t just chuck any old soil back in. You want to use good-quality topsoil that’s similar to what was there before. Don’t use clay or heavily compacted soil, as this can suffocate the roots.
Layer the soil back carefully, making sure there are no air pockets around the roots. Water it in well as you go as this helps the soil settle around the roots and prevents gaps from forming. Don’t compact the soil too much around the roots; a light tamping is all you need.
Post-Excavation Care
After you’ve finished your excavation work, the tree will need some extra care to help it recover. Set up a proper watering schedule, especially during the first few months after excavation. A good deep watering once or twice a week is better than a little bit every day.
Keep an eye on the tree for the next year or so. Look out for signs of stress like leaves yellowing or dropping at unusual times, branches dying back, or the tree leaning more than usual. If you spot any of these, get your arborist mate back to have another look.
Final Thoughts
Remember, every tree is different, and what works for one might not work for another. The key is to take your time and be prepared to adjust your approach based on what you find as you dig. It might take a bit longer than just ripping in with your excavator, but protecting our trees is worth the extra effort.
By following these guidelines and working carefully, you can complete your excavation work while keeping our trees healthy and strong. After all, we want these beautiful trees to be around for future generations of Kiwis to enjoy!
FAQs
How to Level Ground Around Tree Roots?
Levelling ground around tree roots requires a bit of finesse. First up, you don’t want to add more than 10 cm of soil over existing roots, as this can suffocate them. If you need to add soil, use a well-draining topsoil mix (nothing too heavy or clay-based).
Start from the tree’s dripline and work your way in, gradually tapering the new soil level so it’s thinnest near the trunk. This creates a nice, natural-looking grade that won’t harm the tree.
If you need to lower the ground level, be extra careful. Remove soil in layers, working by hand around any exposed roots. You might need to create a retaining wall or terracing to maintain proper soil levels without damaging the root system.
How Close to a Tree Can You Excavate?
This is a crucial question for any digger operator. The general rule of thumb in New Zealand is to use the Tree Protection Zone (TPZ) calculation. Multiply the trunk diameter (measured at 1.4 m height) by 12 to get your safe distance in centimetres.
For example, if your tree trunk is 60 cm across, you should try to stay at least 7.2 meters away from the trunk. However, if you must work closer, you’ll need:
- Council approval in many cases
- An arborist’s assessment
- Specific protection measures
- Careful excavation techniques
What is the Easiest Way to Remove Tree Roots?
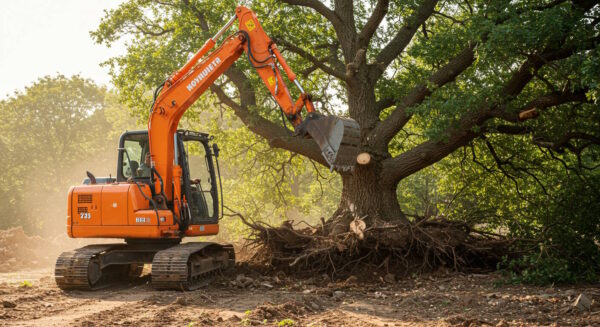
If you absolutely need to remove tree roots (and you’ve got proper approval), there are several methods:
For large-scale root removal, a hydraulic excavator with a root rake attachment works well. This lets you pull out roots while leaving most of the soil behind. However, this is only suitable for trees that are being completely removed.
For more selective root removal:
- Use water or air excavation to expose the roots
- Cut larger roots cleanly with proper pruning tools
- Use a stump grinder for surface roots
- Remove the soil and roots in sections
Remember though, removing tree roots should be your last option. Roots are crucial for the tree’s survival, and removing them can make the tree unstable. You don’t want a pohutukawa falling on your shed during the next big storm!
Before removing any roots, ask yourself:
- Is it really necessary?
- Have you got proper approval?
- Could you modify your project to work around the roots instead?
- Have you consulted an arborist?
Keep in mind that in many parts of New Zealand, you need council permission before doing any significant root pruning or removal, especially for protected or notable trees.

Darren has written over 3000 articles about driving and vehicles, plus almost 500 vehicle reviews and numerous driving courses. Connect with him on LinkedIn by clicking the name above